What a great week it has been, indeed. Right now, Hamilton has been playing in town and even though Sarah had tried to get tickets on the first day they went on sale, they evidently had sold out in 2 hours. I looked around to get some tickets, but the price was really out of control. Several hundreds of dollars and I just didn’t think it was worth it.
So, when the show finally arrived in town, we both downloaded the app for Hamilton (upon her insistence). Perhaps a little known secret is that within the app, there is a daily lottery where you can enter the lottery to purchase tickets for $10/person. The tickets are for the following day, so you definitely need to have a flexible schedule if you win.
Well, we were well into the second week of the run and it was nearing the end. As is with all lotteries, neither of us had won. And then, Boom!

Sarah had actually won the lottery for a pair of tickets. When she called to buy the tickets, the agent said they would try to place us together, but there would be no guarantees. Of course, she was excited just to go and I was happy to be able to join. We assumed we would be placed in empty seats throughout the venue. When we arrived, we picked up our tickets and were happy to see that we got to sit next to each other, but still didn’t know where we’d be.
Wow…we were literally in the front row and center. Amazing. The orchestra was right in front of us.

I actually had heard about the show from Sarah and from Joyce, but hadn’t looked into it. It really was a fantastic show and so thrilling to have been giving some of the best seats for $20!
Then, over the weekend, Sarah treated me to a class on making your own bitters. So fun! The course was focused around tasting tinctures both bitter and aromatic, making tinctures and finally combining them to create one’s own blend of aromatics and bitters for food and cocktails.

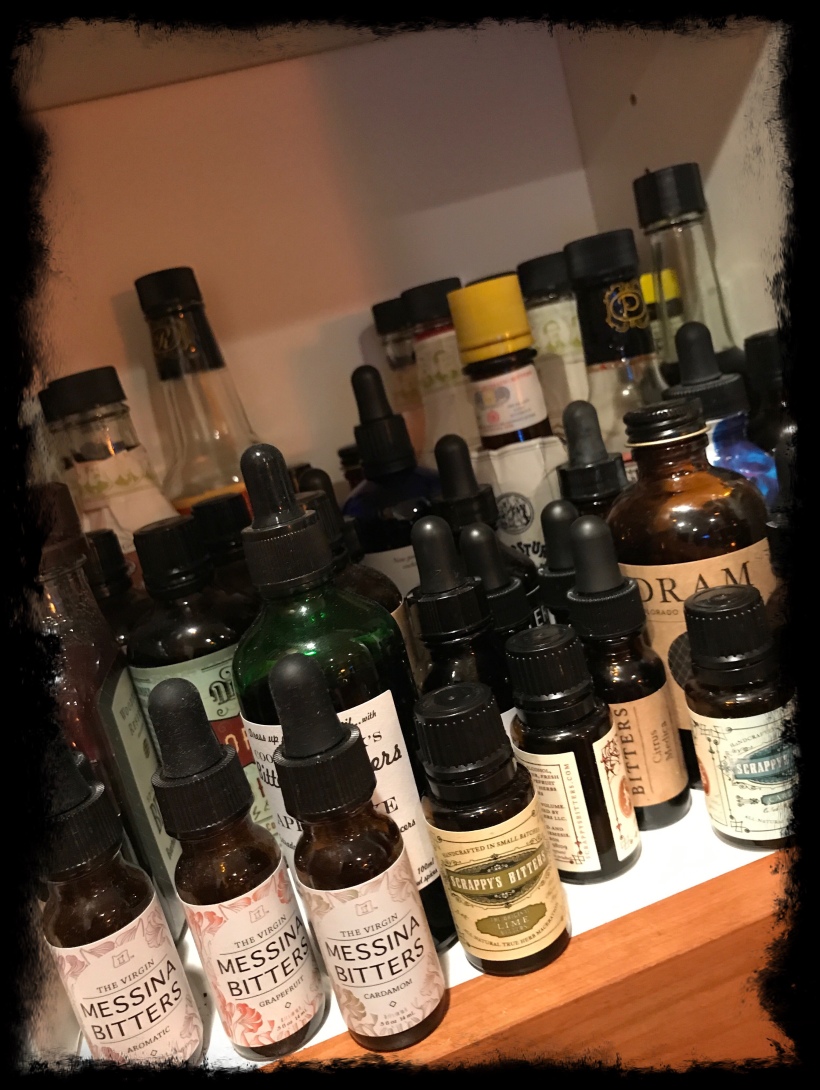
Over the past several years, I’ve gotten quite a collection of bitters and it was fun to experiment and play around with different flavor profiles.

Some of my bitters collection.
Waistcoat
Needing a break from the sacque, I decided to embark on the waistcoat I will wear.
Working off of Reconstructing History’s pattern for the waistcoat, I am hoping that constructing this garment will go much more smoothly than the breeches did. I’ve made vests and jackets before for myself and have some basic understanding of tailoring techniques as a foundation.
Many years ago, I spent a couple of years learning design, construction and industrial sewing techniques from Margaret Islander. She was such a sweet, amazing teacher and I learned a lot from her. I think the skills that I will never forget are the industrial sewing techniques.
The waistcoat calls for an interlining that can be made out of a 3-5 oz linen.
I laid out the lining, fashion fabric and interlining on top of each other, pinned the pattern to all three layers (an invaluable industrial technique) and cut out the patterns.

After the pieces were cut, I then basted the interlining to the fashion fabric from the center of the pieces outward. This will minimize any bunching of the interlining as the construction continues. A good strong interlining is important for the garment to maintain its shape and allows the fashion fabric to drape right. I’m using a medium weight linen for the waistcoat and I will use a heavier buckram type interlining for the frock coat construction.

Above you can see where the fashion fabric and the interlining were basted together.
After that I overlocked the edges for the back and front pieces.
1. Pin center backs together (right sides facing each other) and stitch, leaving about 12″ from the bottom of the back (this will be the back vent)

2. Pin front should seams to back should seams (right sides together) and stitch

3. Pin front side seams to back side seams (right sides together) and stitch, leaving about 12 inches open from the bottom (these will be the side vents)

4. Try on model and assess the fit. Adjust as needed with pins

In the end, I took in the side seams of the waist coat by another 7/8″ beyond the seam allowance. This was for a size 42. I was playing with the length of the waistcoat as well. In researching these garments, there are two different lengths. The shorter of the two looks really good from the front, but not as good from the back. In the end, I decided to stay with the length from the cut pattern.
With the fitting done, adjust the patterns and re-cut fashion and lining.
Pockets
I’ve decided to make a separate post on the pockets (link will be here).
Lining
I’m using a very delicate taffeta for the lining. These fabrics tend to slip and slide a lot, so make sure to pin the pieces together well.
1. Stitch the center back together and press open seams, leaving about 12″ from the bottom open for the back vent

2. At the shoulder seams, bring the fronts to the back and stitch at the shoulders. Press the seam open
3. Pin the side seams of the front and back and stitch down to bout 12″ from the bottom just like with the fashion layer. Press seams open
4. With the top and lining layers completed to the above finish, it is time to bring them together, rights sides facing each other
5. Baste the center back seam of the lining to the back center seam of the fashion fabric

6. Pin from the top of the neck line all the way to the back vent for both sides
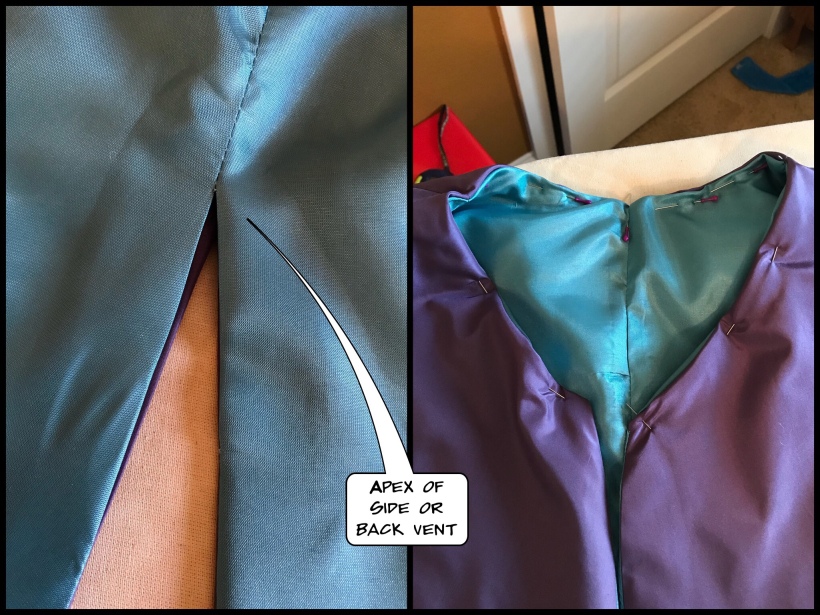
7. Stitch starting from one front side to the other front side. I left the apex of the side and back vents unstitched and finished those by hand.

8. At corners, clip and trim seam allowances

9. Turn right side out, work corners out gently and press all seams
At this point, there will be several points that need to be hand stitched closed. Neckline, armscyes and apex of side and back vents.

10. Pin these areas and hand stitch closed. Be patient with these areas. You want them to be smooth and the stitching should be hidden.

With the garment constructed, it was time to work on the fun part – embellishment!
I found a great little shop on etsy.com named shopofembellishments and boy was it ever!
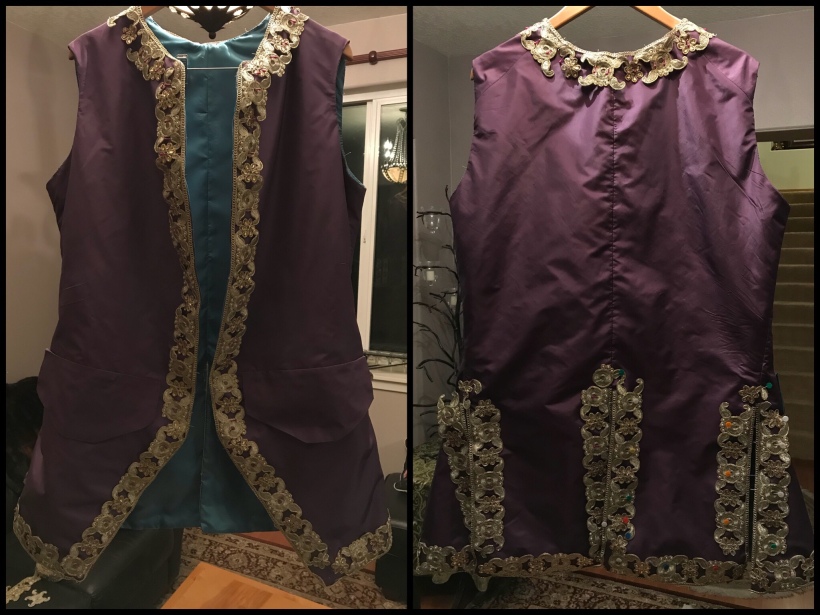
For the waistcoat, I selected a 2″ wide gold embroidered trim with small amber rhinestones and round pearls. I finished the embellishment with some small amber colored rhinestone rosettes.
I spent what seemed like forever pinning the trim onto the waistcoat.

And in an ideal world, I would have hand stitched this down, but alas, it is not and the rigors of life keep me from spending that kind of time on it and so to the machine I went.

Once all of the trim was sewn on, it was time for buttonholes. I really wanted to add many, but in the end settled for 14 buttons.

This waistcoat turned out pretty much like I had in my head and I’m very happy with it.
I worked on this off and on over a week! Now onto the next garment!!!
48 days to go to Fetes!!!

One thought on “Constructing 18th Century Men’s Waistcoat”