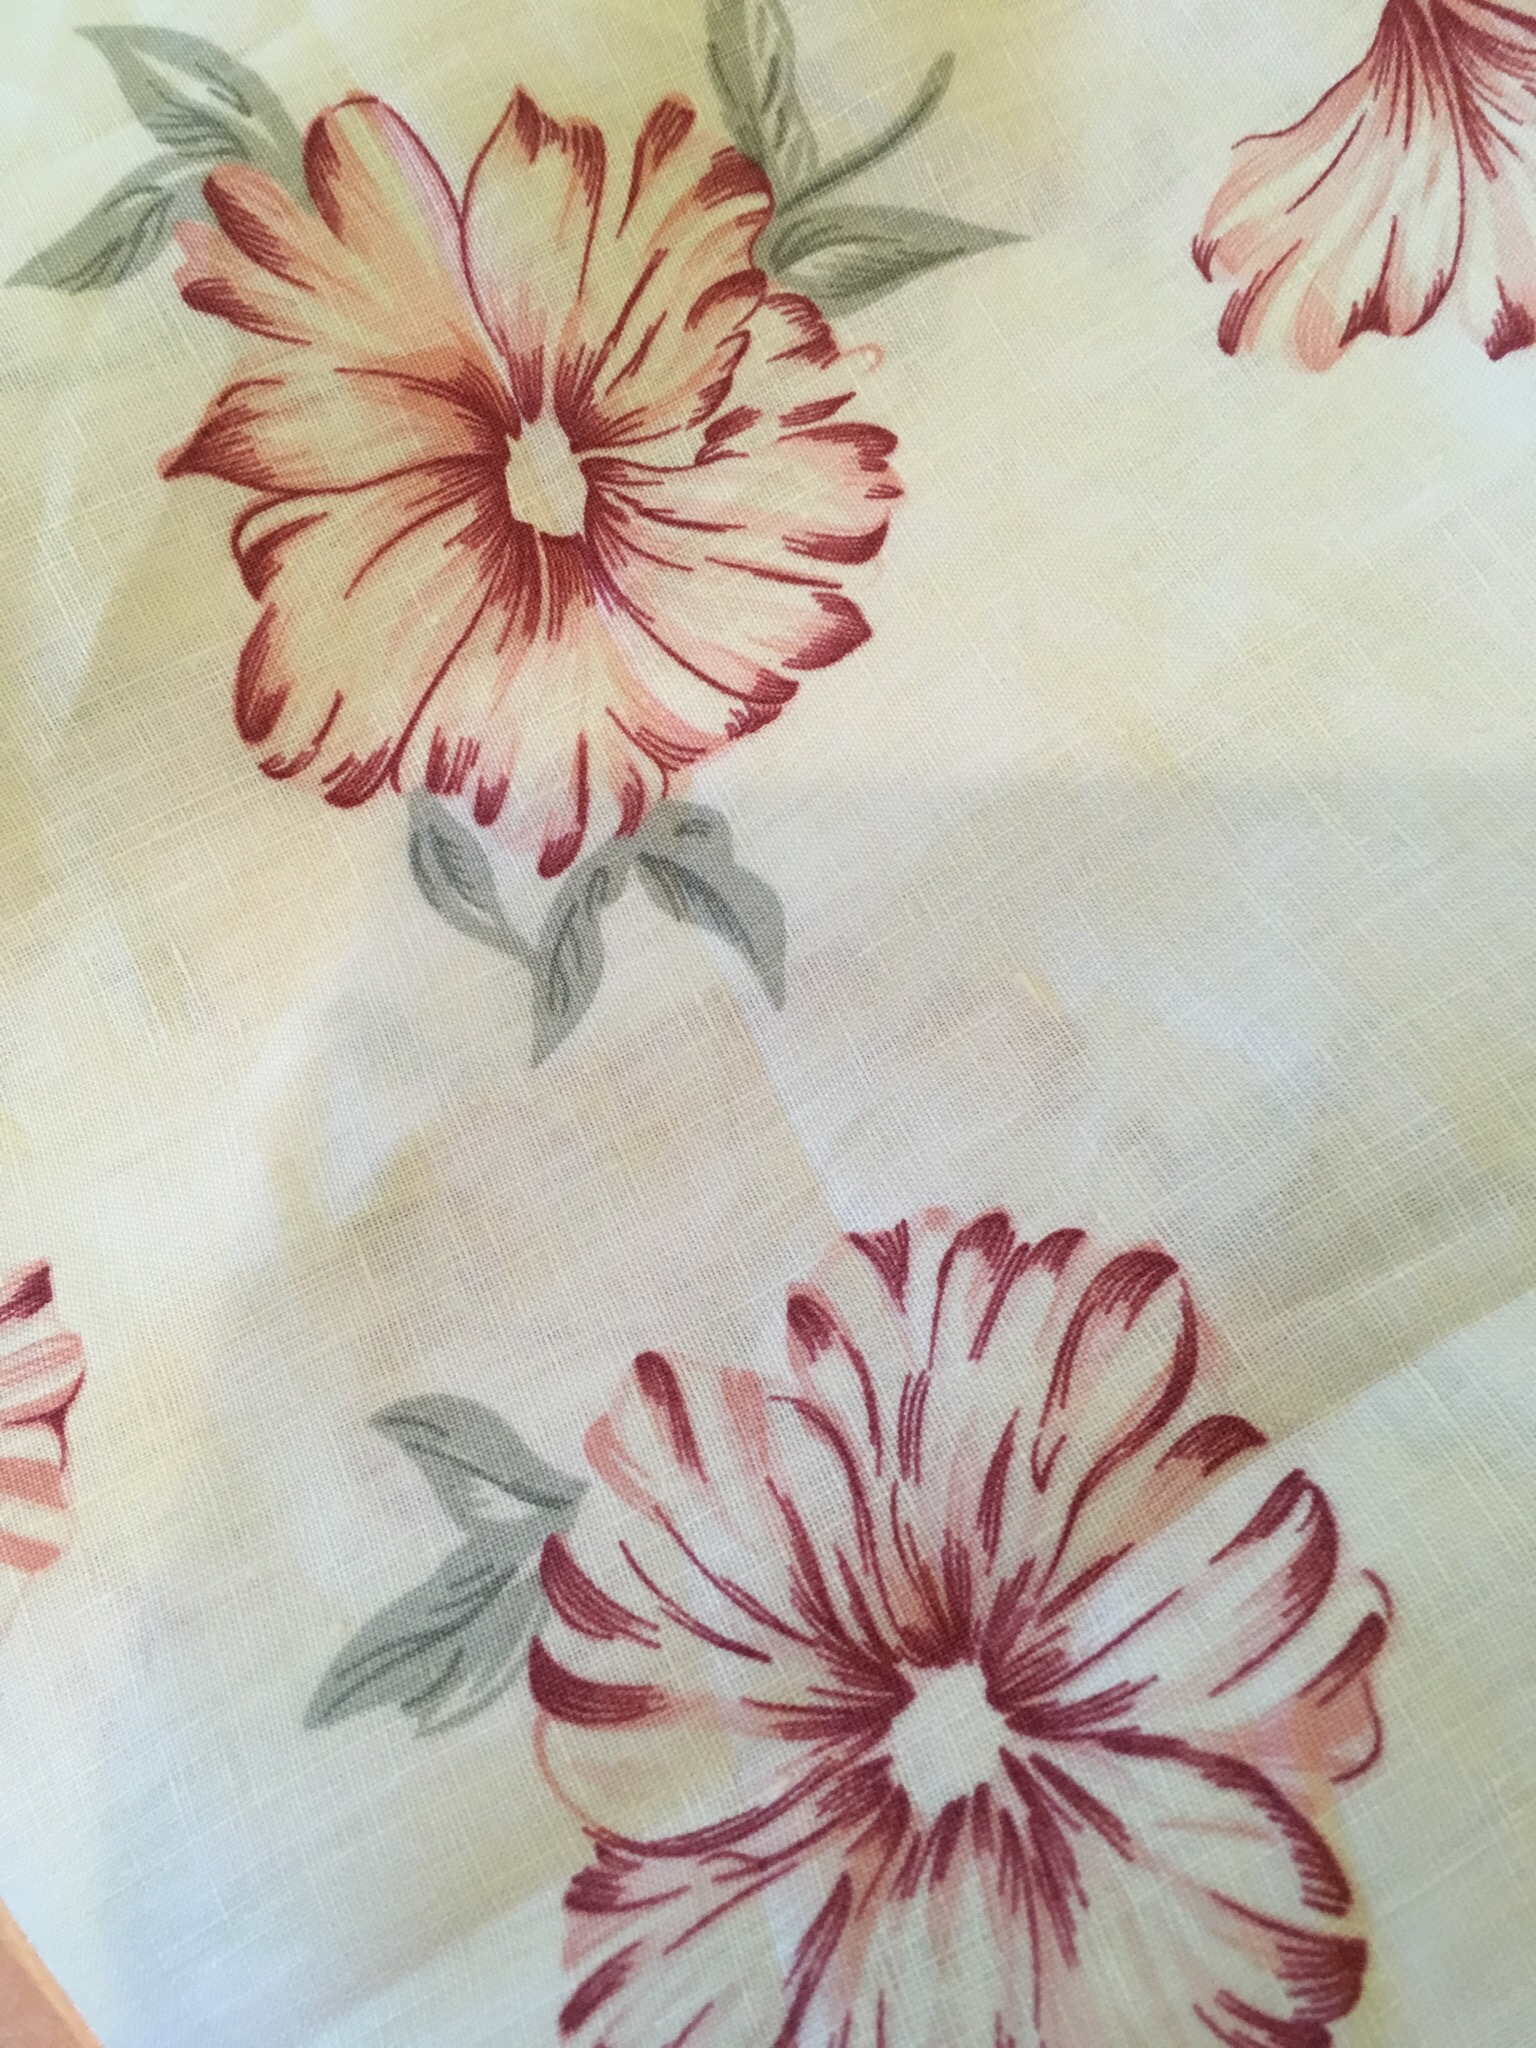
As I mentioned in my last post, for the undergarments, I selected a 3 oz. weight white Irish linen. I purchased 10 yards off of EBay for $9/yd. It’s a 60” wide fabric and should be enough to complete the shift (under dress), the hoop petticote and my undershirt/undershorts. For the pocket panniers (pocket hoops), I selected a pretty pink floral lightweight linen. The undergarments should also be pretty after all!

Now, if you have bothered to read the about me section of this site, then you probably were already surprised to learn that I am fascinated by fashion and clothing. Long ago, in my idealic phase, I wanted nothing more than to drop everything, grab a bag and move to NYC or Paris to study design and work in a fashion house. I tend to think I was in the wrong place at the right time. Too young to have the balls to actually make the move! Hah! After I graduated from high school, I followed my family to southern Oregon and got a small apartment in Grants Pass. While not a metropolitan splendor, I made the most of my exisitence and found a local celebrity in the home sewing industry (Margaret Islander / Islander Sewing Systems). Margaret was really an amazing lady. So patient, but very skilled and willing to teach me so many tricks about tailoring, industrial sewing techniques. Imagine, an 18-year old guy showing up to a sewing class with a group of spry, sophisticated women! They were so welcoming and a bunch of characters. Really, it was the perfect setting for me to learn how to construct clothing. Later, my close friend, Joyce would attend classes with me and we had a blast learning to design clothes together! More on life later.
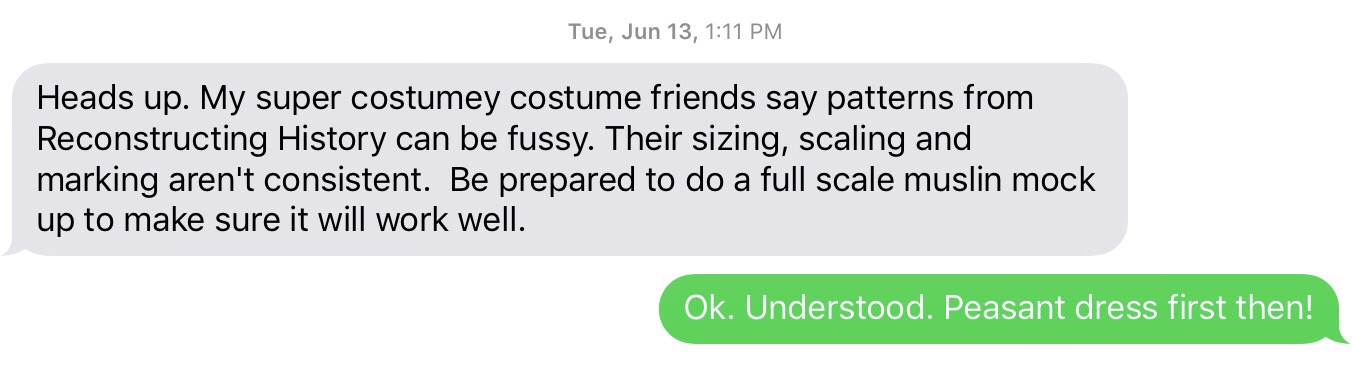
In making a decision about patterns, I chose to purchase my patterns from Reconstructing History. Mostly, because they had a great deal on the complete package of patterns for 18th century French clothing (both man and woman). After sharing pattern selection with Joyce, I got a message form her:
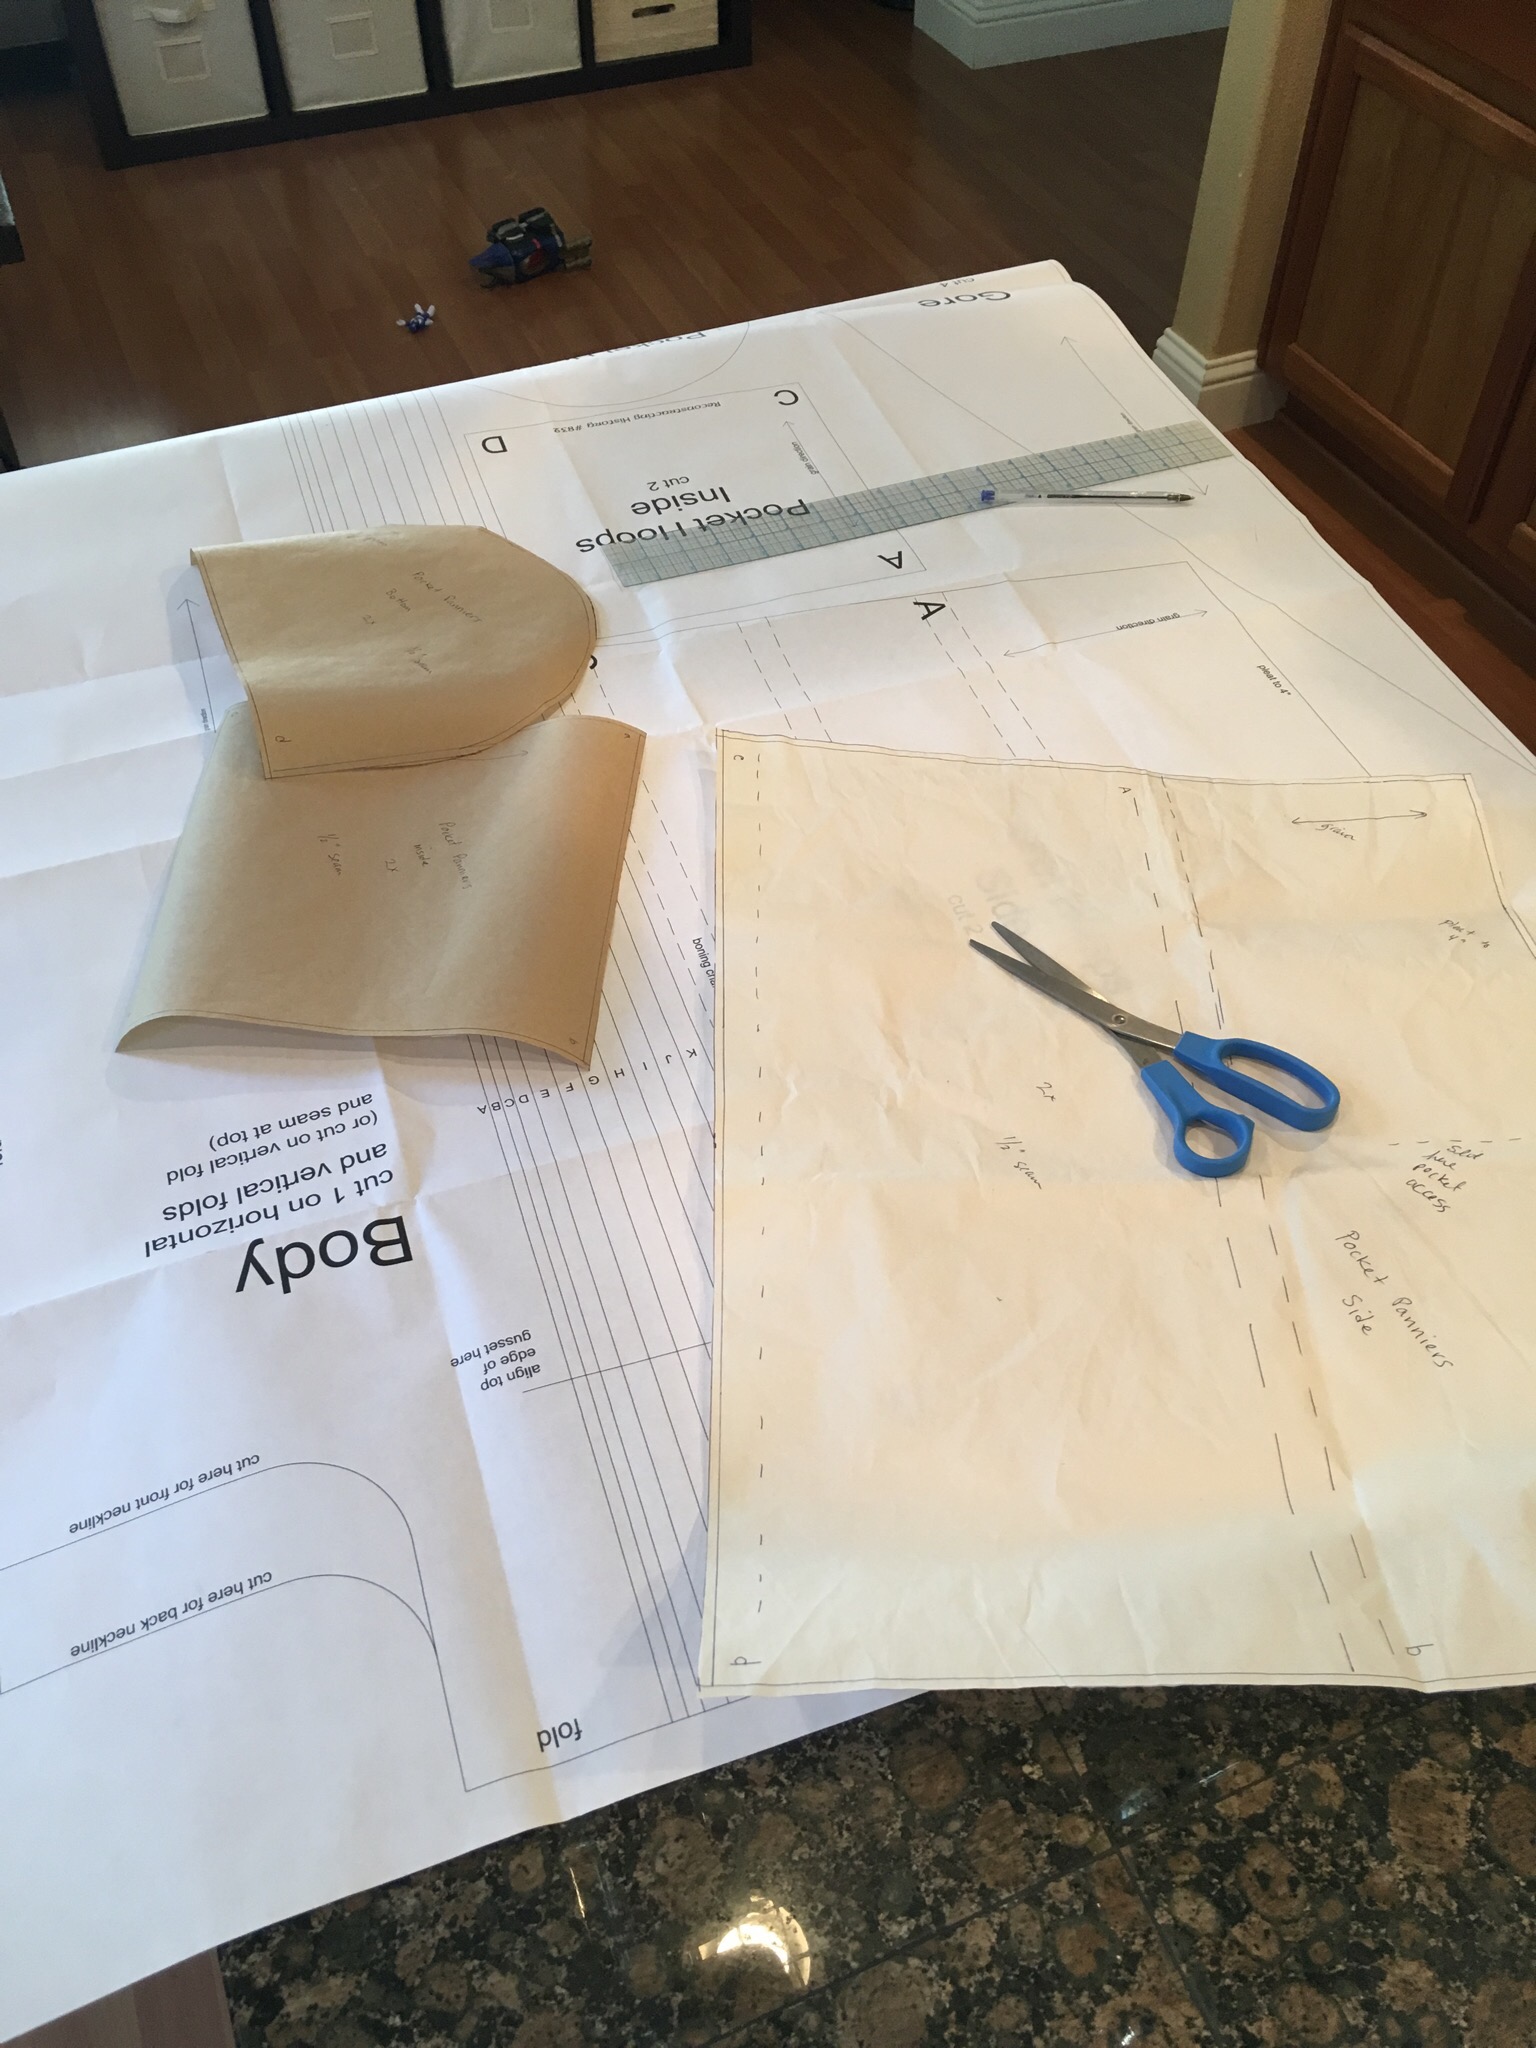
So with that bit of info, I set out to trace off the patterns for the pocket panniers. I always trace the patterns and work from the traced off patterns. Then I have intact patterns that I can lend or give away. Sure, it takes a bit more time, in the end, you won’t remember that and will be happy that you did it this way.
I should point out that indeed patterns from Reconstructing History are not for beginners. However, if you had made other period pieces, you’re likely already used to the cryptic instructions that can come along with those types of patterns and honestly, I’ve been pretty happy with the instructions I’ve ready so far in each pattern. If you’re a newbie to sewing, be cautious and make use of YouTube!
According to the instructions, seam allowances are set to 3/8” unless otherwise noted. I prefer to work in allowances that my head can more easily understand, so I copied patterns adding 1/8” in to 3/8” seam for a total of 1/2” seam.
Armed with my knowledge, that I would have to do a full blown mock up, which I normally wouldn’t do, when Sarah picked me up from my trip to Canada, where I selected the silk taffeta for her robe de la Française, we stopped into IKEA and picked up some muslin. Perhaps it’s a little known secret that IKEA sells fabric. Their muslin is $1.99/yd, a great deal. It’s off white, but who cares?

After pinning and cutting out the pieces from the muslin, I set out to putting the undergarment together. Here’s where I diverged from period construction. Instead of sewing bias trim to cover edges, I made life simpler by using an overlock machine to protect all edges. Remember, this is my practice piece, so I will make adjustments as necessary.
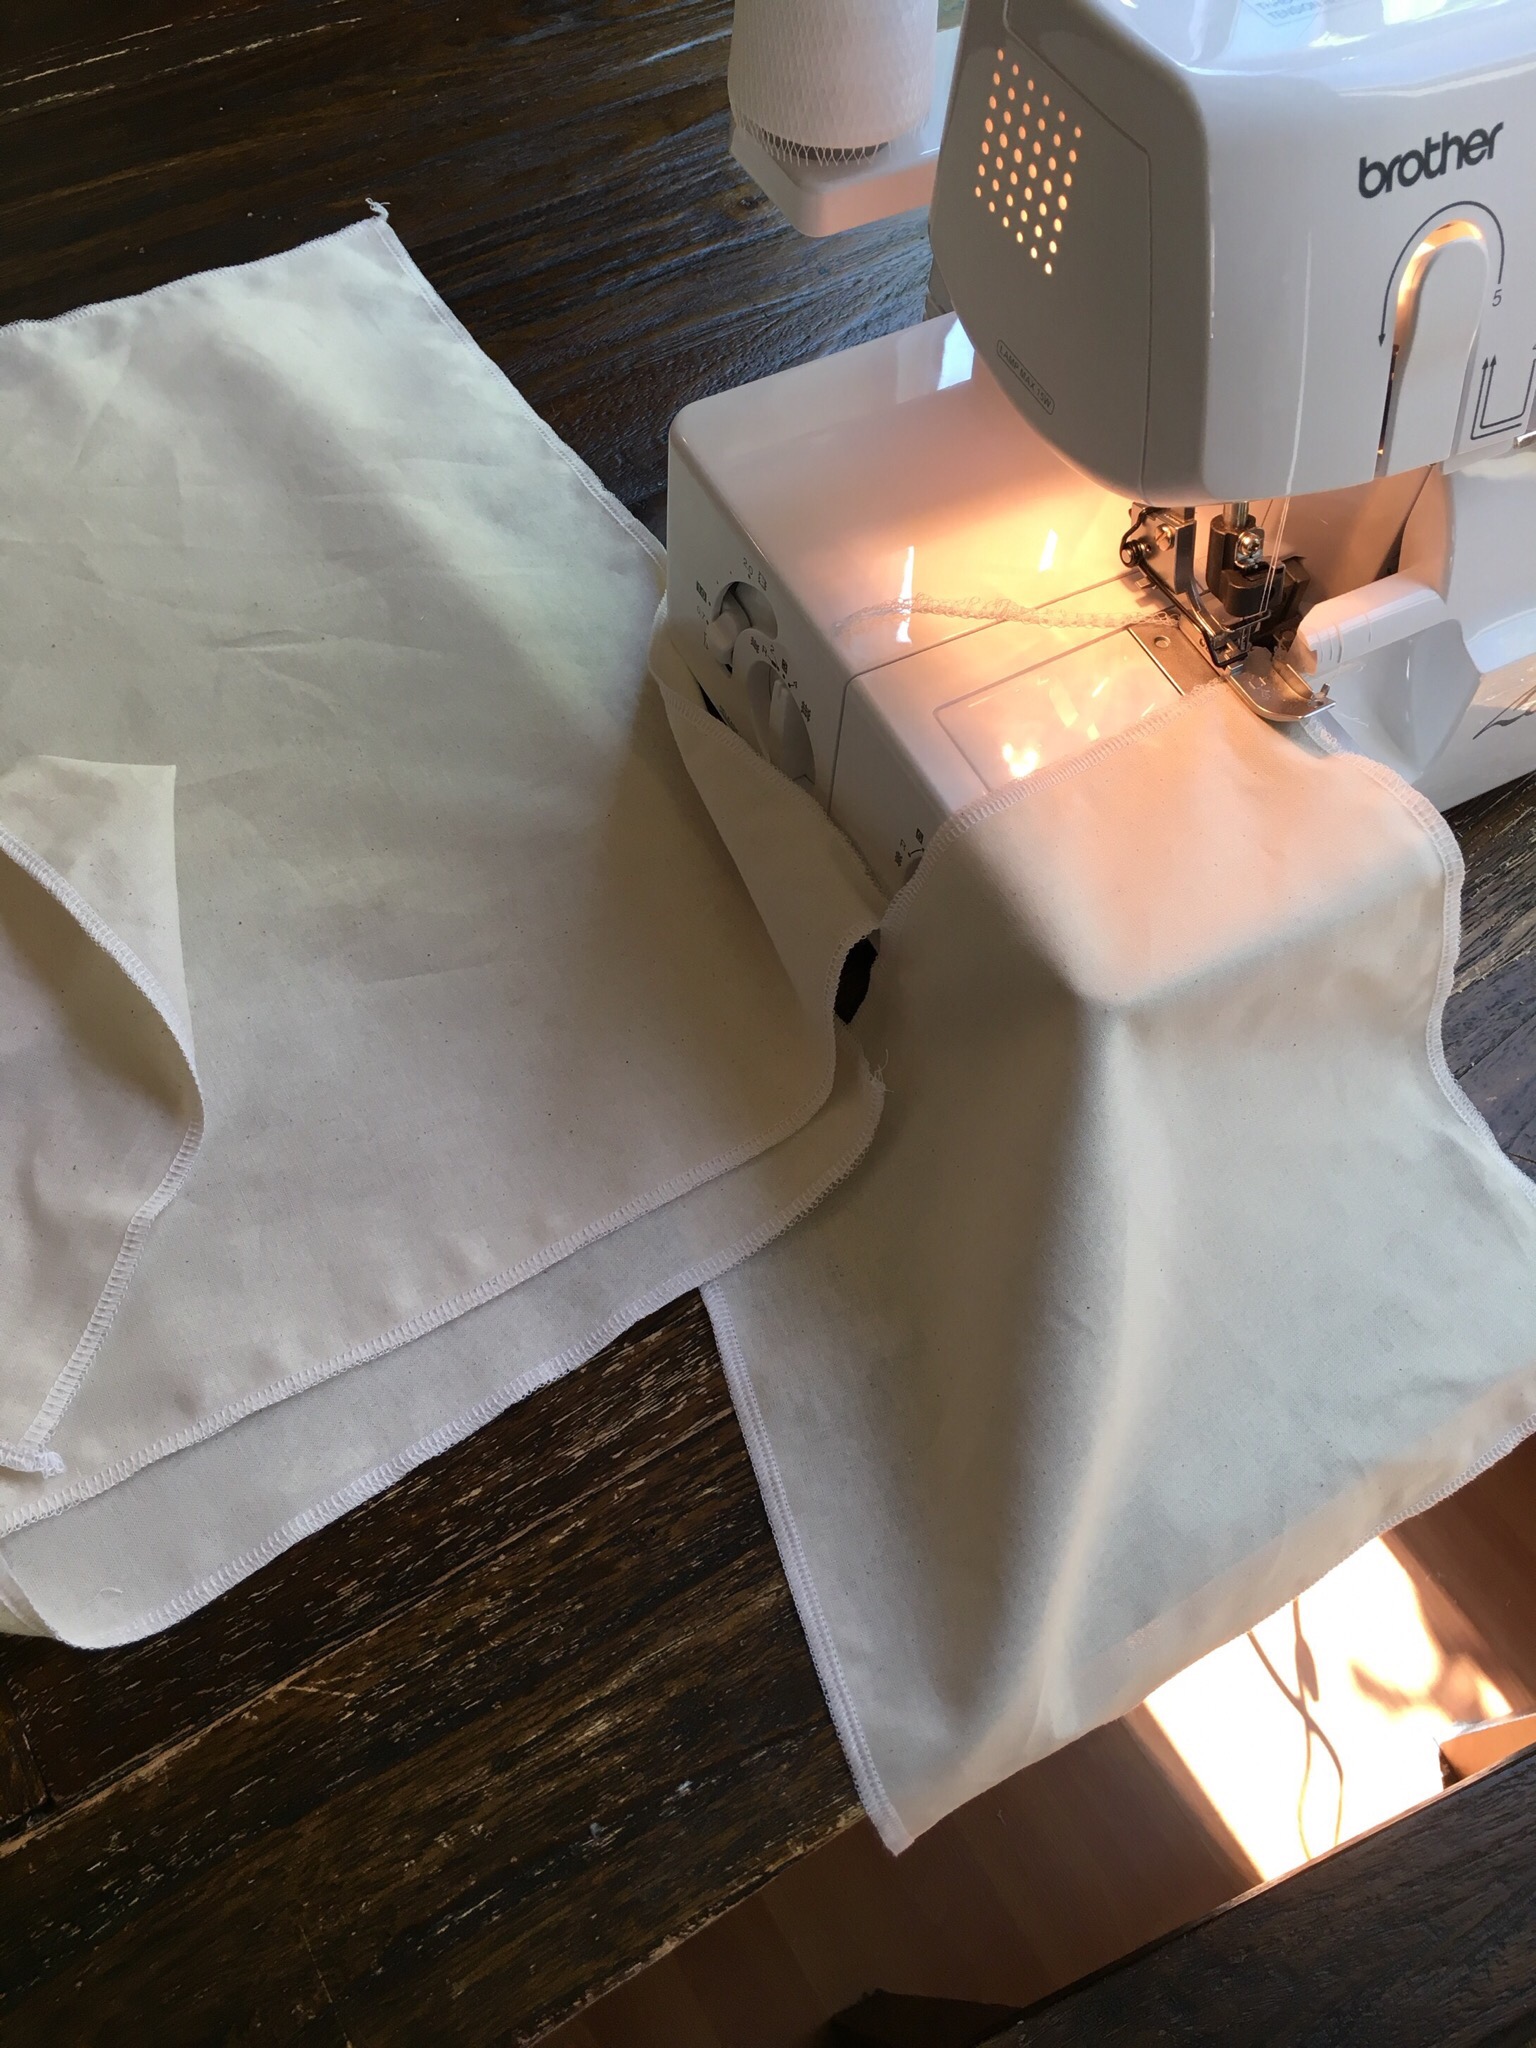
My two sons had fun helping me finish the edges of the fabric. They eventually got bored with the serger and that allowed me to power through the construction. Here I am working on side one of the panniers.

For boning, I’ve chosen 1/2” wide Rigilene MaxPro. I’m not sure how good this will be for the hoops, but I figured I could double up if needed. It is flexible, so moving through doorways should be easy! Plus, I want the dress and undergarments to be as lightweight as possible for the trip from west coast to Paris!
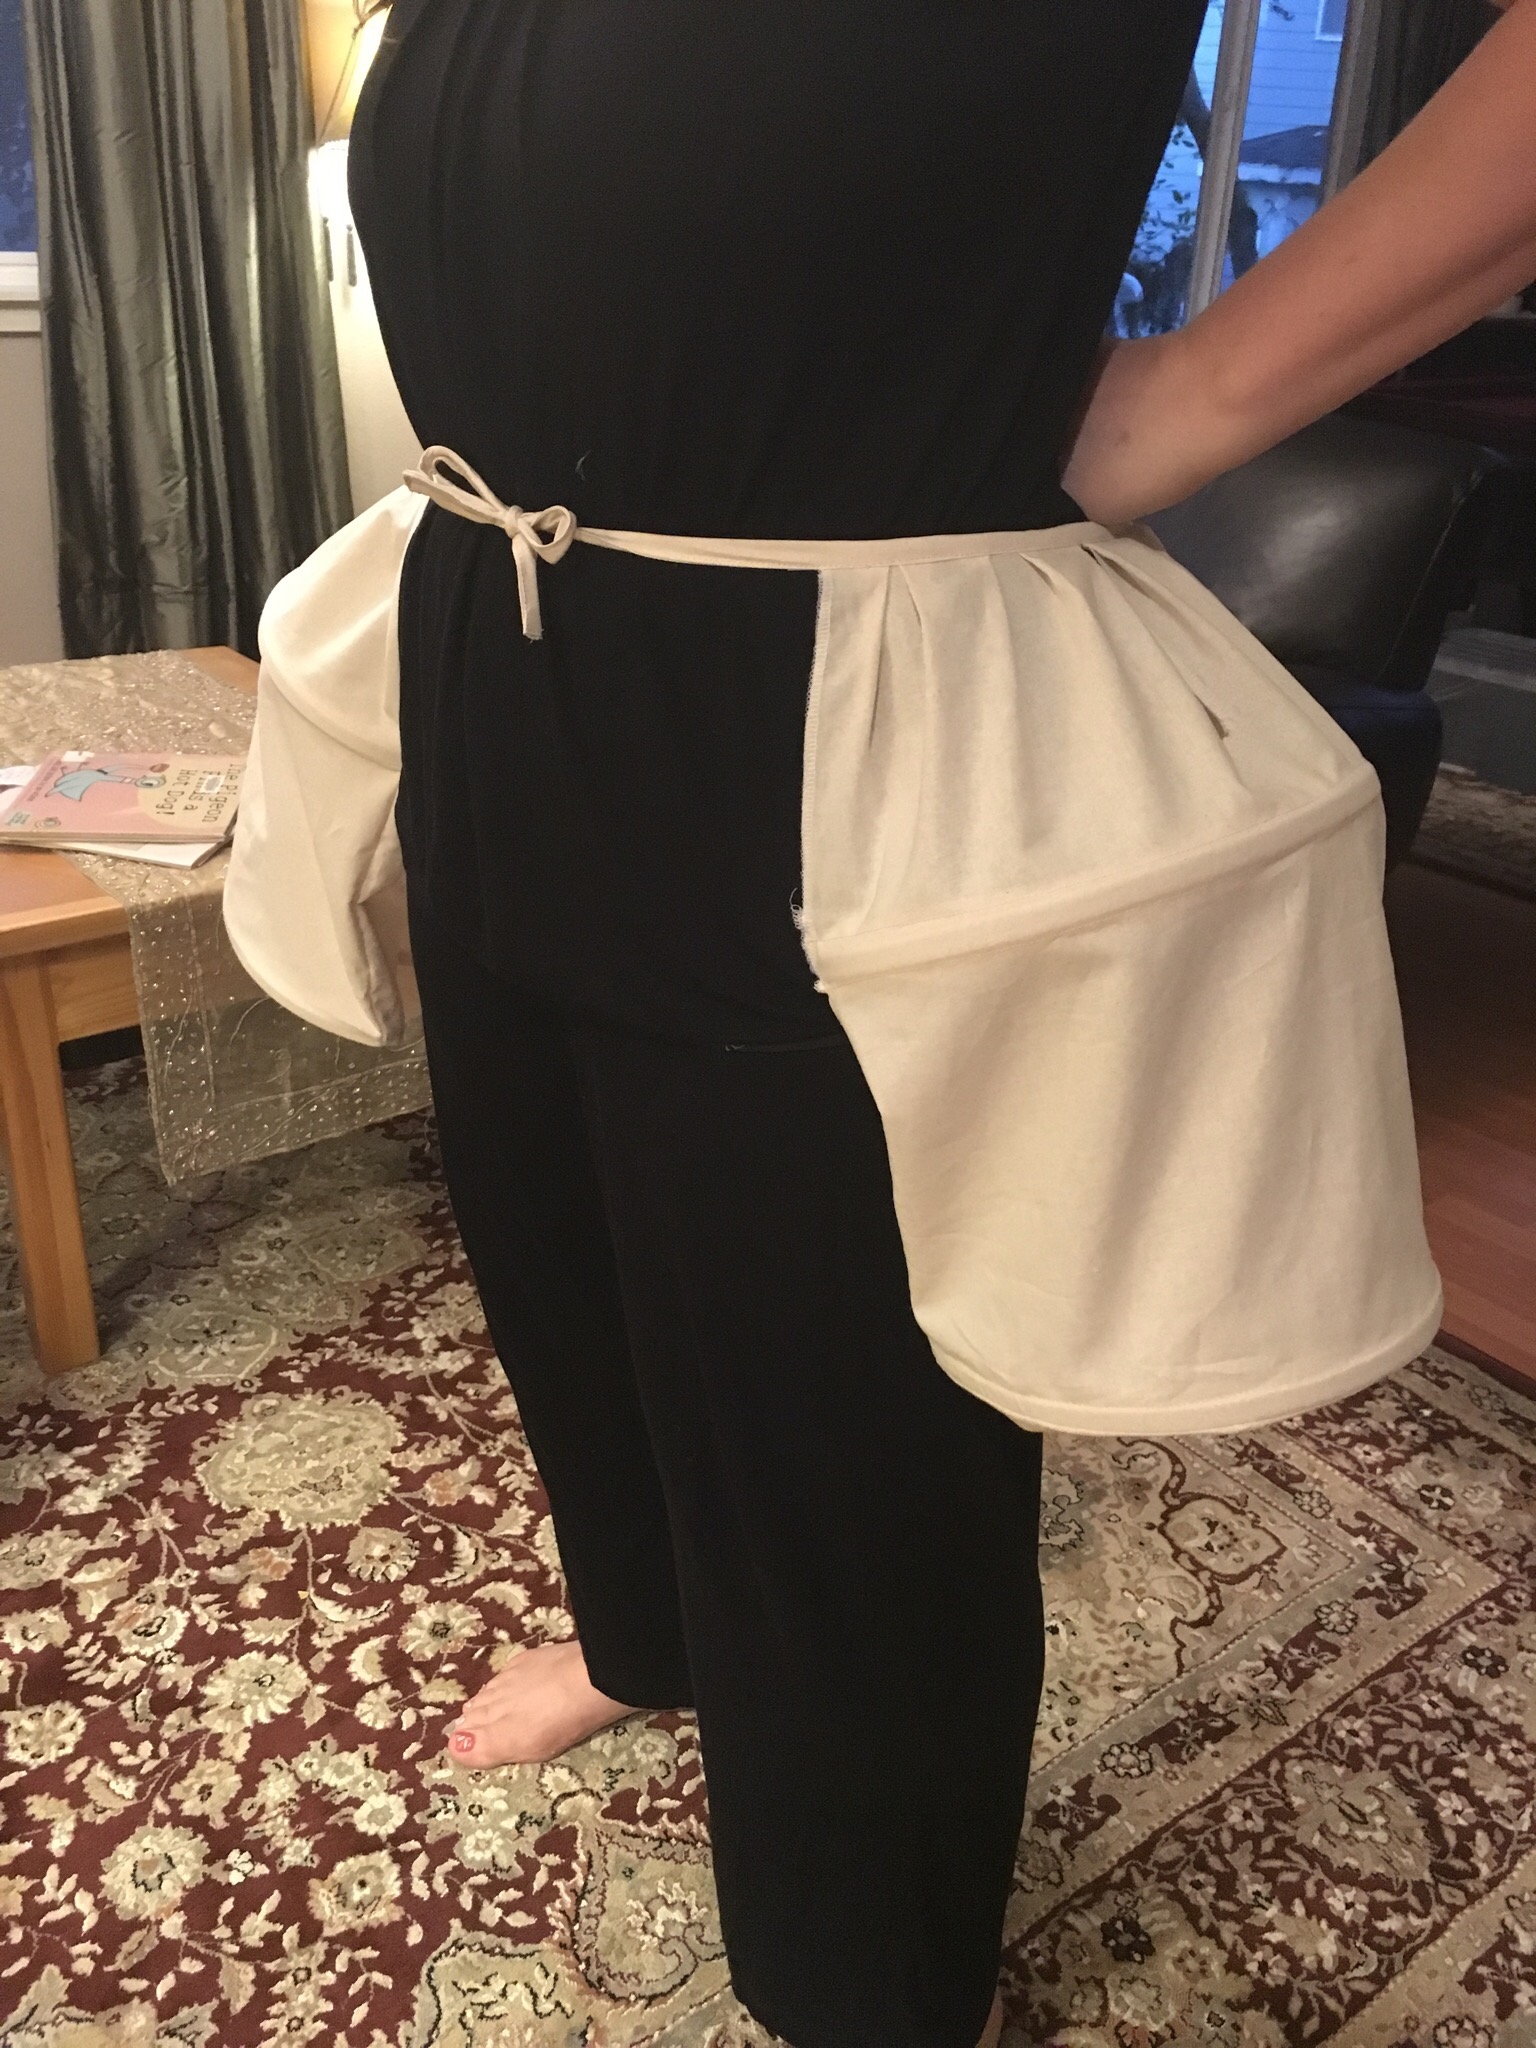
Here is the completed first side of the pocket pannier. These are going to be really cool. Not only do they have a function to perform, but they are also storage containers. Cell phone, wallet, money, make-up. Fun!

All in all, I would say this is a good starter for this project. Here it is finished!
So items that need some changing:
1. Still concerned about strength of boning, but I will address after I finish the mock up dress in its entirety.
2. The waste band for the pocket pannier needs to be wider. This was a 2” cut of frabric. In the final version, I will scale up to 3” to make it just slightly wider and more comfortable.
U;til next time!
