OK. 1 week has gone by, but so much has happened relative to these stays. I had some course corrections, but it all ended up well.
To begin with, measuring for a corset seems straightforward. 4 easy measurements, right? Bust, underbust, waist and hips…But what if model measures between two pattern sizes? What do you do then? Do you go up or down? The guidance on Redthreaded.com was if “you’re squishy”, then size down (mistake #1 – I didn’t listen, but that really isn’t new). So, in Part 1, I made a corset using the average of the sizes that we measured, basically sizing up because some of the measurements fit better into the larger size. I’ll come back to this in a minute…
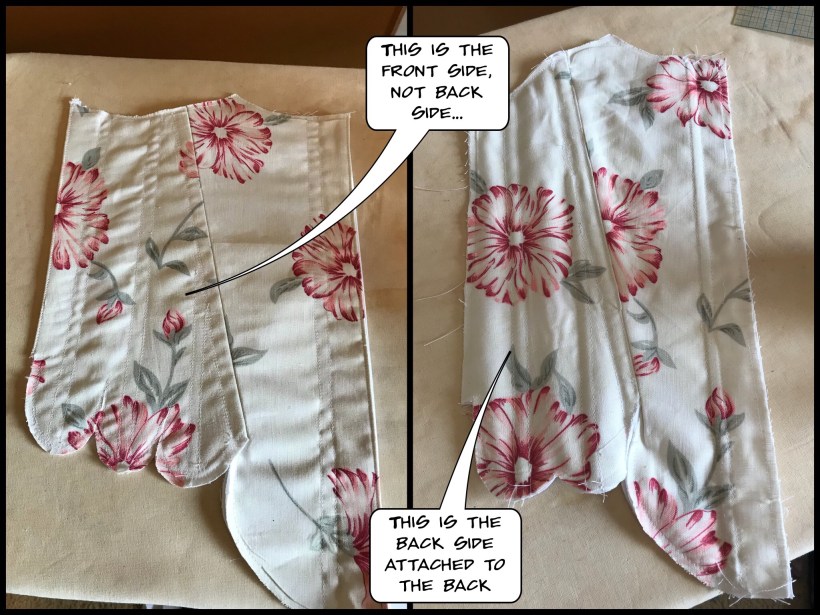
Second – I made an error piecing the corset together and I want to correct that right away because I only caught it the second time around. I attached the front side to the back panel. Now, I’m not sure how important this is in the end and perhaps could be a non-issue, but it was remedied. Even the tops of the pieces seemed to fit together. Details….
Now back to the sizing of the corset. Below I will continue with the construction of the stays neglecting the sizing, but in the end, I had to remake the stays 2 sizes smaller than what I measured for and it turned out really good! Something to keep in mind. Not sure where I went wrong, but we remeasured and got the same numbers as the first time.
Construction Continued
With all of the boning channels added to the garment, and staystitching tabs stitched and reinforced, it was time to finally add the boning!
The general recommendation for good boning in stays is steel. If you order a kit from Redthreaded.com, it will come with all the boning you need to complete the stays. You can also purchase 1/4″ steel boning off of biasbespoke.com.
1. If cutting your own boning, measure each channel subtracting enough so that the boning does not go into the seam allowances. I used wire cutters and a metal file to smooth the ends. I also used some nail polish to cover the ends of the boning so minimize any possibility of the ends cutting the fabric.

2. Stitch the ends of the channels closed, making sure to reinforce with back stitching.
With the boning in, next up is the eyelets. On the back panels, there was about an inch marking for a fold. I decided to add a piece of boning at this marking. I then folded in the seams allowances and folded the extra fabric towards the boning.
3. On the back panels, fold in the seam allowances for the under fabric and the coutil/fashion fabric. Press with iron

4. Fold the fabric over the boning and stitch down.
5. To open the holes for eyelets, I used a small awl and couple of chopsticks to get the holes to the right size. For the stays, I chose a 1/4″ goldtone eyelet.
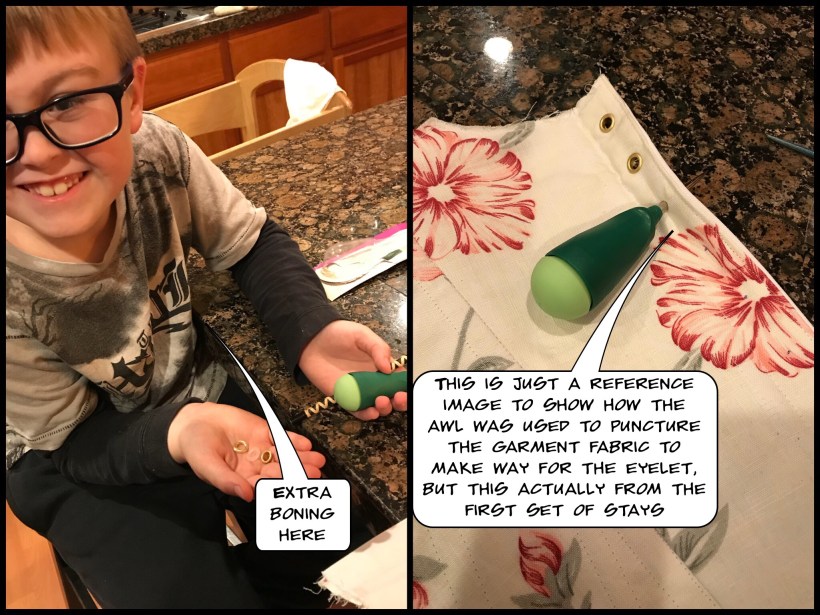
Of course, once the awl came out, I had plenty of help (LOL). No one was injured in the use of this pokey instrument!
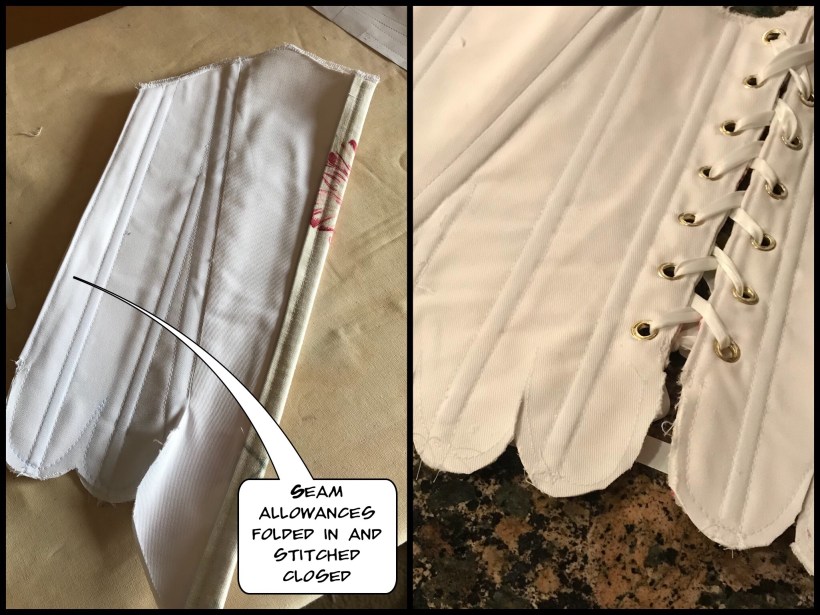
To add some flexibility in sizing, I decided to add eyelets between the back and front sides. Not knowing how well the new stays would fit, this seemed like a good idea.
6. Fold in the seam allowances and stitch closed (just as on the back panels). This left just enough room for these eyelets
7. Clip around the staystitching tabs and slash with scissors to open the tabs up.
With all of the eyelets placed, I wanted to try it on before spending anymore time on this garment. Adding the bias tape around the unfinished edges is time consuming and I didn’t want to waste the ribbon!

Aaaand I can live with that! Great fit and looks amazing. Now onto finishing off the garment.
To finish off the raw edges, I selected a 1″ satin ribbon.
8. Stitch one side of the ribbon to the outer facing fabric about 1/4″ in. Take your time on this step and the results will be worth it


9. Fold the ribbon through to the other side and press if needed

10. Top stitch right next to the ribbon on the outer side of the garment

11. Finish the straps the same as with the rest of the garment
12. Add eyelets to the ends of the straps and near the top points on the front of the stays
So, in the end, the garment turned out pretty great from my perspective. If you count the first mock up in muslin, I ended up making three of these, but I learned a lot and now we have the foundations for an amazing robe a la française!

Stay tuned for the next post!

This is very beautiful I love vintage clothing!!
LikeLiked by 1 person