This week was a busy week prepping for a work week in The Netherlands, continuing to costume and hosting dinner and a game night for close friends. Bound and determined that my posts will be timed around the actual construction of the garments, this one is happening abroad in Europe as I enjoy The Netherlands this fine Sunday afternoon. When I first started coming to Holland for work, I remember Sundays were so quiet with most if not all shops just closed for the day. It’s only in the last 4-5 years that shops are now regularly opened on Sundays and people are bustling about. Of course, the restaurants and bars would open around lunch time, but that would be it. Now, it seems, Europe in general has opened up to capitalism at its finest. Sunday shopping!

Wandering around Eindhoven, but what appears in front of me, but PP! Well, Hello EHV, you have made it to the big time! I’ve discovered this German designer in the last year and while I don’t buy much from him, I do enjoy wandering around the shop. A lot of the clothes and shoes are embellished with skulls of rhinestones and the color palette is right up my alley; really a mishmash of Alexander McQueen and Christian Louboutin.
One thing that you can always count on in Europe is finding new eats and amazing cocktails. This time, my work crew and I headed to Auguste for what we like to call “Surprise Dinner” aka Chef’s Choice. We were not disappointed. We chose a 4 course selection with wine pairing. Dinner started with amuse bouche, which featured samphire ( a sea herb very similar to asparagus) and just kept getting better! The courses really showcased this chef’s skills at molecular gastronomy.

 NEGRONI
All in all, it was a good work week, but now I’m looking forward to heading home to the family.
Making stays (what we call a corset these days) perhaps seems like a daunting task. But honestly, after conquering those men’s breeches, I was energized to make it happen.
My close friend, Joyce, gave me a copy of The American Duchess Guide to 18th Century Dressmaking by Stowell and Cox, so this was the first place I went to for stays. However, it was missing! I had purchased patterns from Reconstructing History for all of the costumes, but then got a tip to try Redthreaded. So, I decided to cough up some more cash and buy yet another pattern!
Be sure to think on how you will mark the boning channels onto the fabric. I chose a tracing wheel and pattern tracing paper. In the end, I wasn’t so happy with how well the tracing paper worked, but it did do the job, so I won’t complain too much about it. If I were going to make another set of stays, I would research some better ways to do this.
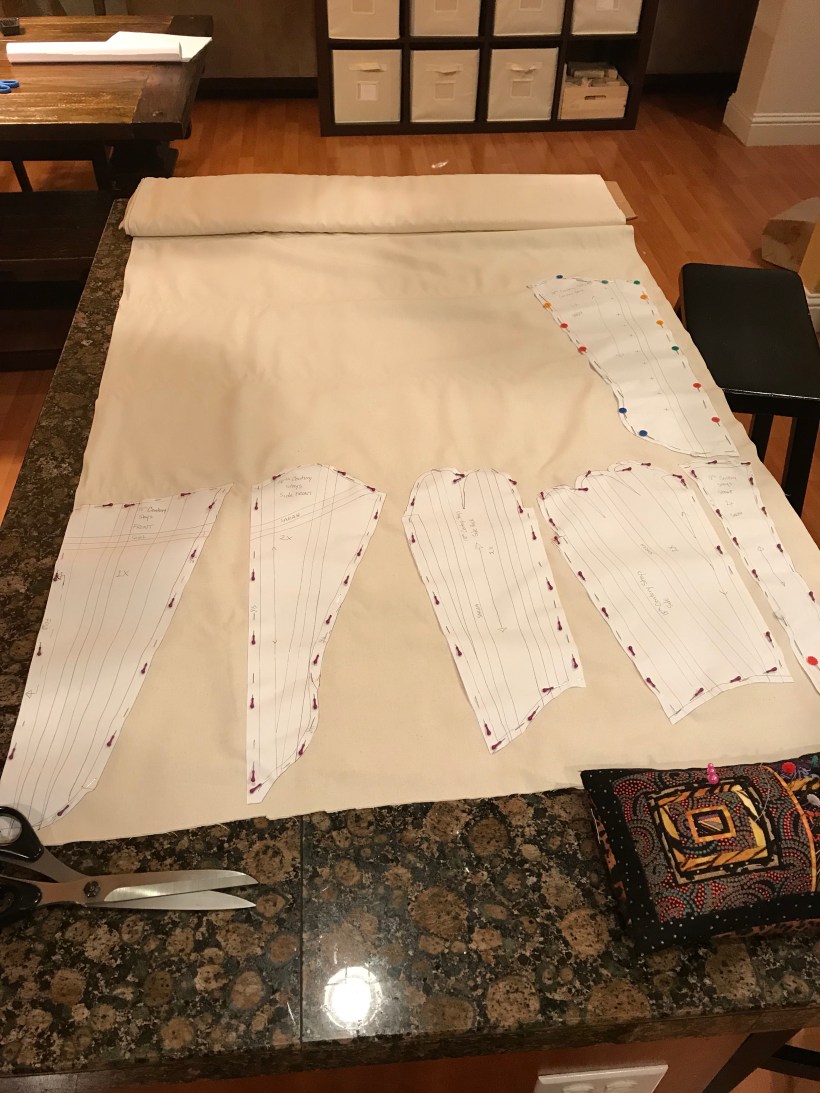
After choosing a pattern, I traced off from the original, and marked off the boning channels.
Both sets of patterns expressly stated that a mock up should first be made to ensure the stays would fit the wearer. I would also mention, that a proper set of measurements will also go along way. Measurements should be honest and true, otherwise, the foundational undergarments will not fit and no one will be happy. Here are a few places on the web that give some good instructions on measuring a woman’s figure.
In my case, I used plain muslin fabric for the mock up. I would state that this was a good indication to tell whether the sizing of the pattern will work or not, but that this fabric does give. Using a stiff fabric like a thick twill or even some Coutil could be a better choice if you want to work with a fabric close to the final selection.
After cutting out the patterns, use the pattern instructions to assemble the mock up. Fit to model and make any necessary changes to the pattern.
The final fabric choice is again the floral patterned linen that was used for the pocket panniers.


Above, you can see the traced off patterns pinned onto the Coutil. I chose to follow the instructions and cut each peach individually so as to have a precise cut for the stays.
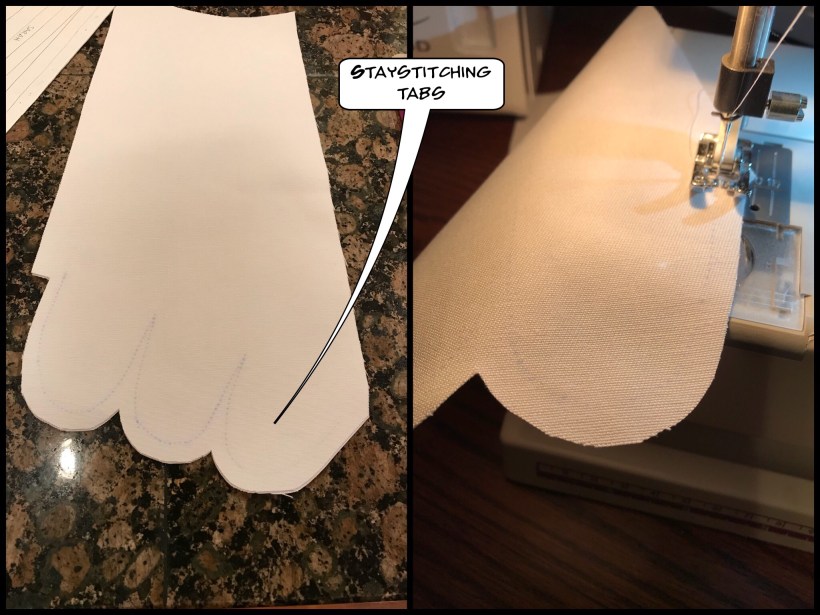
1. After the pieces were cut, using a tracing wheel and paper, mark off the the staystitching tabs on the wrong side of the fabric
2. Stitch over tracing marks for all pieces where staystitching tabs are. Stitching in these locations helps to reinforce the slash points of the tabs
3. Also cutting one piece at a time, cut fashion fabric and under fabric (in this case I used a heavy white twill)
4. On right sides of the under fabric, trace the boning channels on all pieces of the stays

5. Pin fashion fabric to Coutil, wrong sides together

6. Stitch the fashion fabric to the Coutil using just under a 1/4″ seam allowance
7. Press all pieces
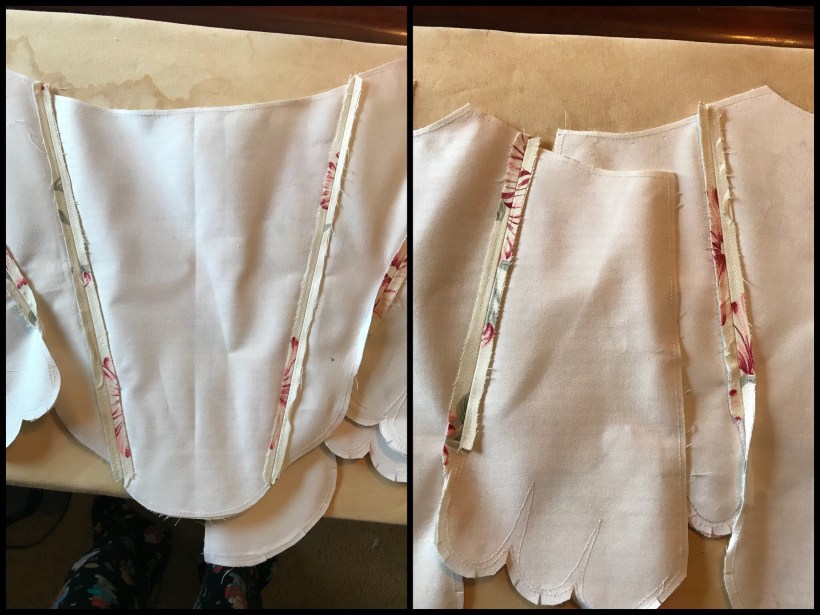
8. Right sides together, stitch the front bodice to the side pieces

9. Right sides together, stitch the back pieces to the back side pieces

10. Press seams open
11. Clip fabric around staystitching tabs and any curved areas of the bottom of the stays
12. Repeat steps 9-11 for the under fabric
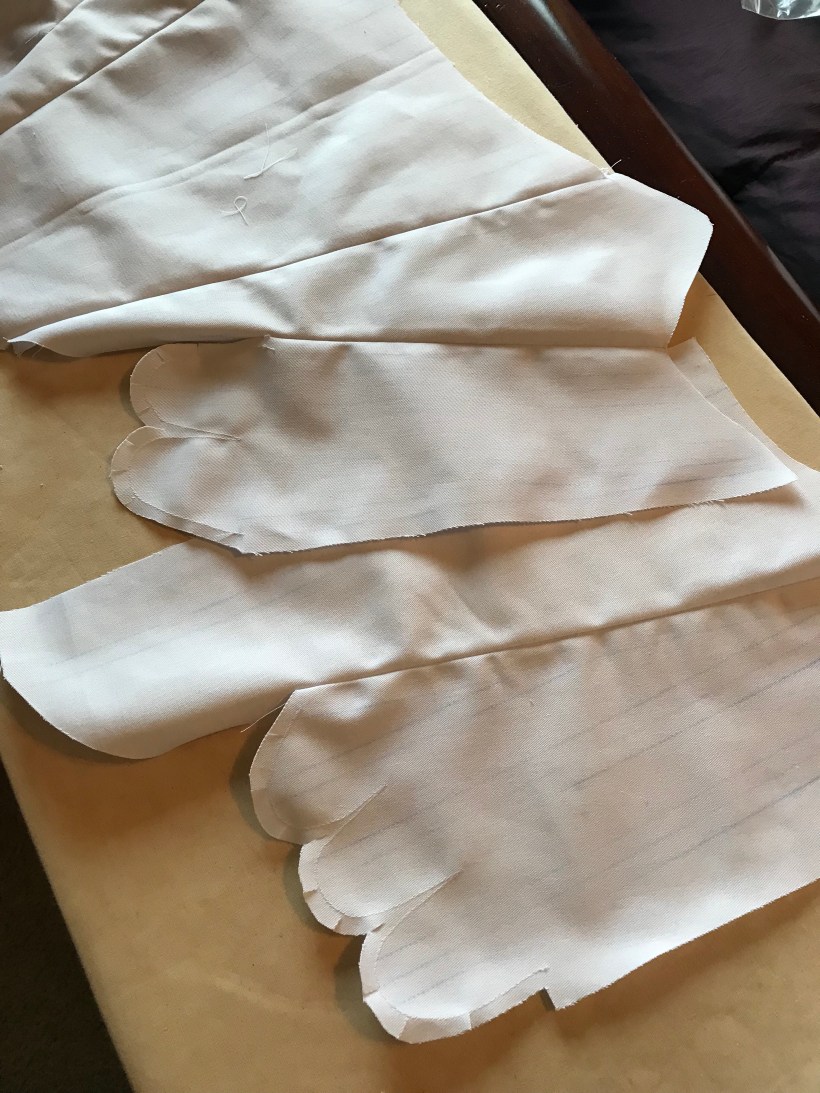
13. With the front and side pieces for the Coutil/fashion fabric and the underfabric assembled, lay Coutil to the underfabric wrong sides together. Use stitch witchery and an iron to adhere the two pieces together so that they lay precisely on top of each other
14. Turn stays over so that the underfabric is on top and stitch over boning channel lines for all pieces
15. Baste or stitch the pieces together all the way around the garment with 1/4″ seam allowance making sure to leave the openings of the boning channels open

NOTE: In the image above, I stitched the ends of the boning channels closed since I wasn’t paying attention. I’ll open them up with a seam ripper and reinforce as I load the boning into the channels.
Stay tuned for Part 2!
Until then.

One thought on “Constructing 18th Century Stays – Part 1”