We are in full swing preparation for our pending visit to Versailles, France for the 2017 Fetes Galantes at the end of May. I have personally been enjoying exploring my creative outlet (patterning and sewing). For the man’s shirt, I’ve selected an off white lightweight blend of linen and ramie. The pattern is from Reconstructing History. Along with the pattern, which provides a “large” and “medium” sizing, there is instructions and some historical information about the shirt. If you’re new to sewing, shirts can often seem daunting because of the intricacies of collars and cuffs, but this is a good beginning shirt to tackle. The collar and cuff are kept simple.
1. Cut out fabric pieces

2. Follow the instructions for making the slashes along the folds of the body piece.
3. Cut the 2 neck gussets in half diagonally. These will become gussets for the top of the next on the shoulders
4. Aligning the widest angle of the triangle over the point of each neck slash, right sides together, stitch the the triangle into place
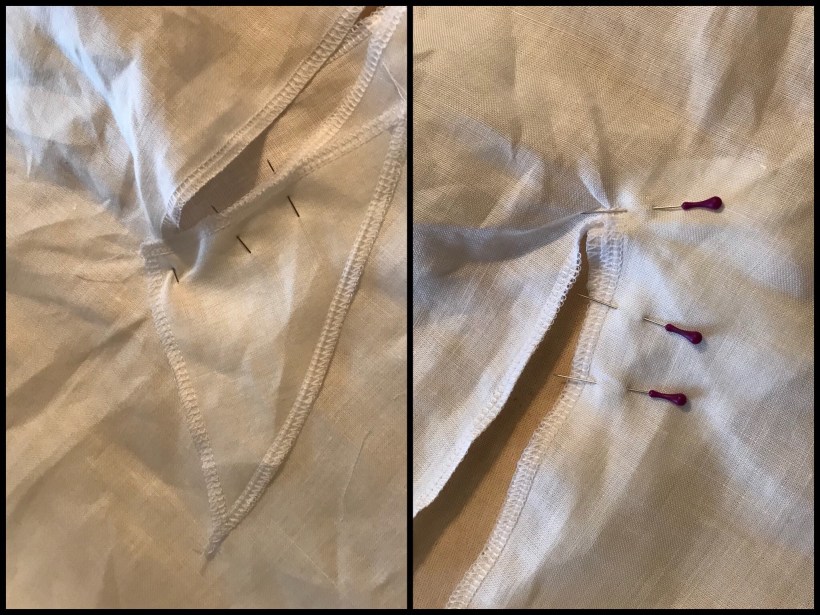
5. Turn the triangle to the other side of the neck slash and stitch

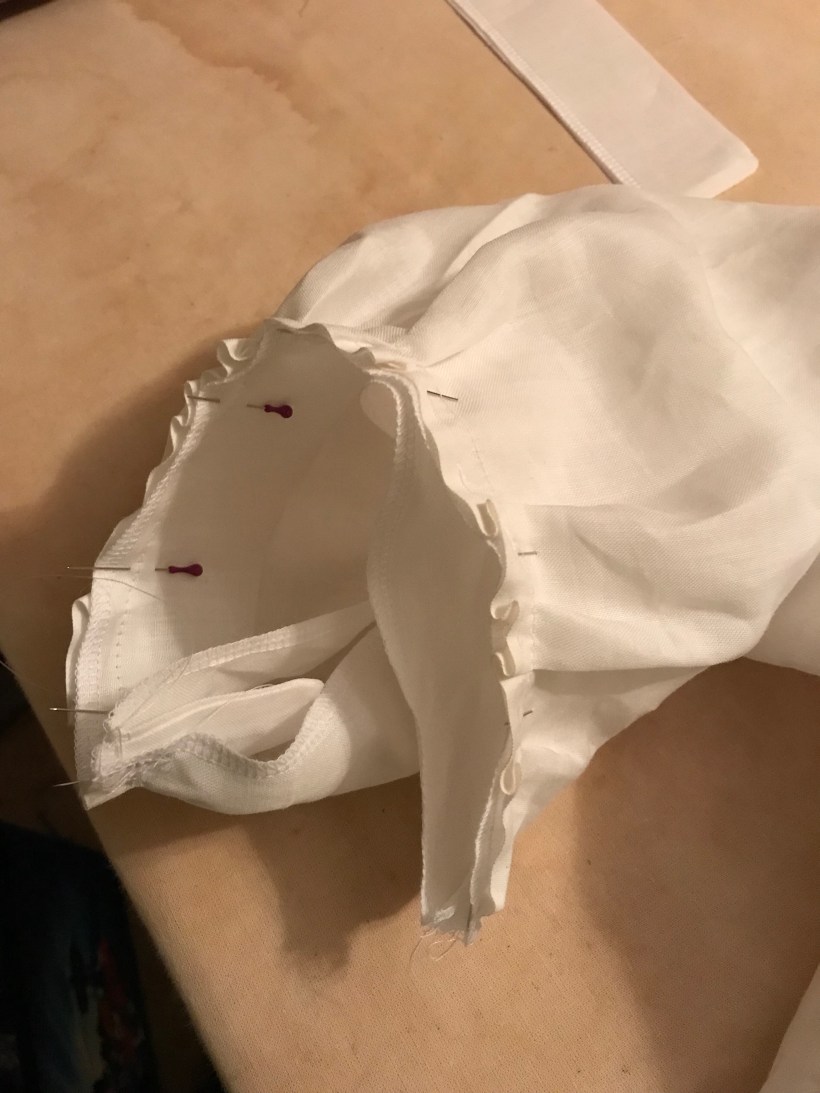
6. Using another triangle, fold in seam allowances and hand stitch on the underside of the neck, enclosing the raw seam

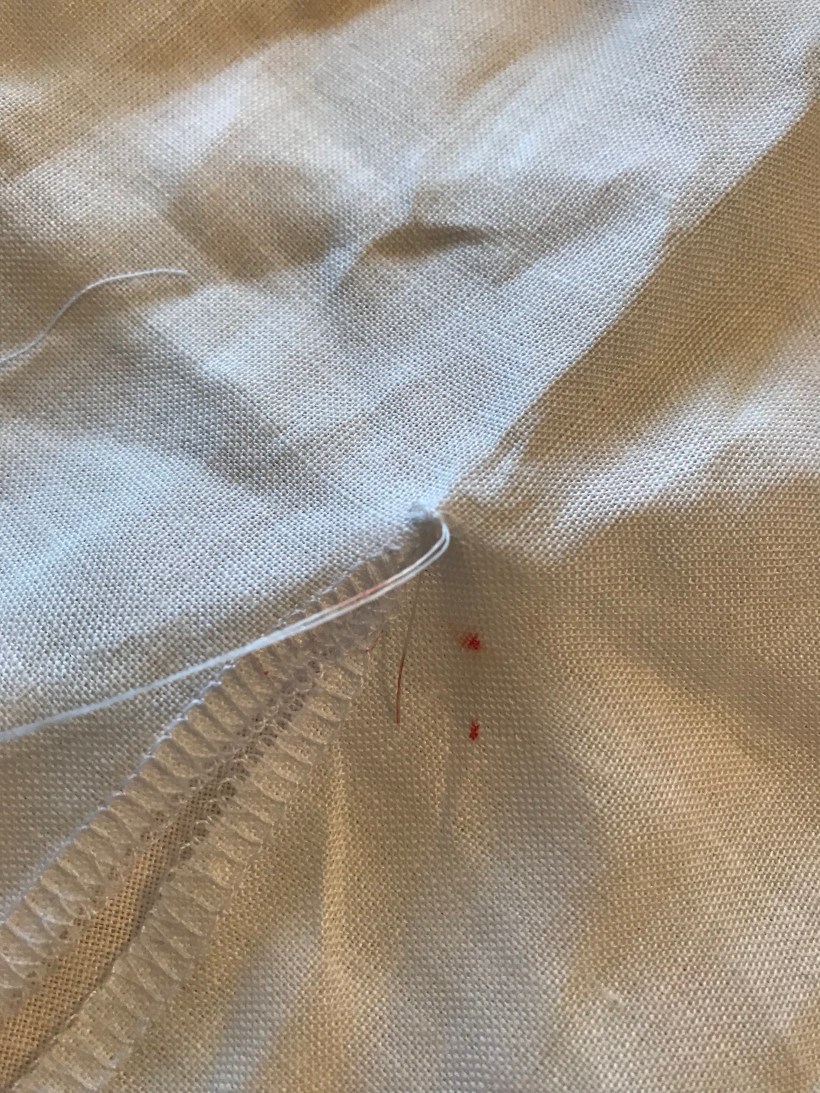
7. Buttonbar tack the bottom of the neck/chest slash, being careful not to stab yourself with the needle, like me! LOL (thank goodness for modern day stain removers).
8. Roll hem the remainder of the neck/chest line
9. Fold collar piece in half lengthwise and stitch short ends closed and turn right side out
10. Hand baste a gathering stitch 1/4″ into neckline
11. Gather the baste line so that the neckline is the same length as the collar
12. Pin an stitch the collar onto the neckline of the body

13. Press the collar’s seam allowance down and pink to the neckline.
14. Hand stitch or stitch with machine

15. Fold the sleeves lengthwise and mark the center near shoulder
16. Pin and stitch one of the underarm gussets to a long side of the sleeve and sew
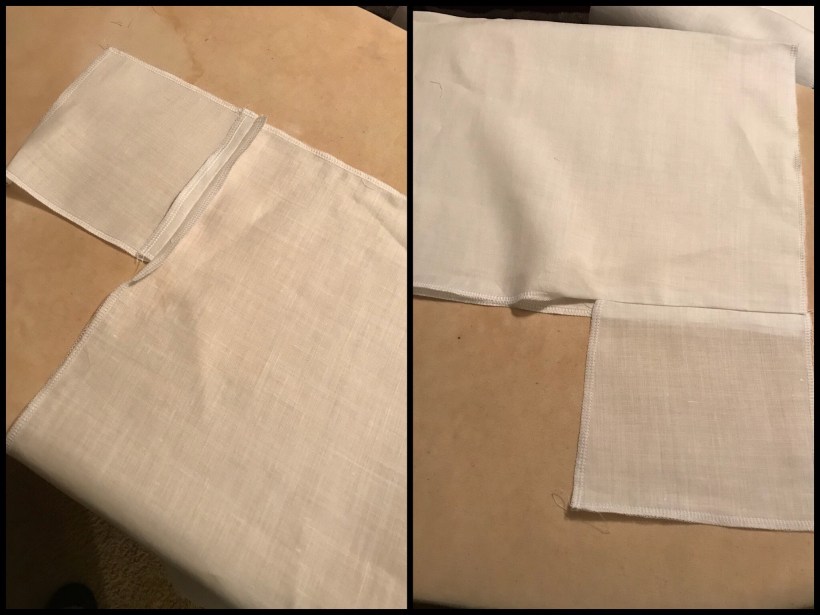
17. Sew the sleeve and the gusset to the front side of the body (do this for both sleeves)

18. Fold the gusset in half diagonally and attach the gusset to the open side of the bottom sleeve and the open side of the back body

19. Stitch the sleeves closed leaving 2-3 inches at the end of the sleeve for the cuff construction
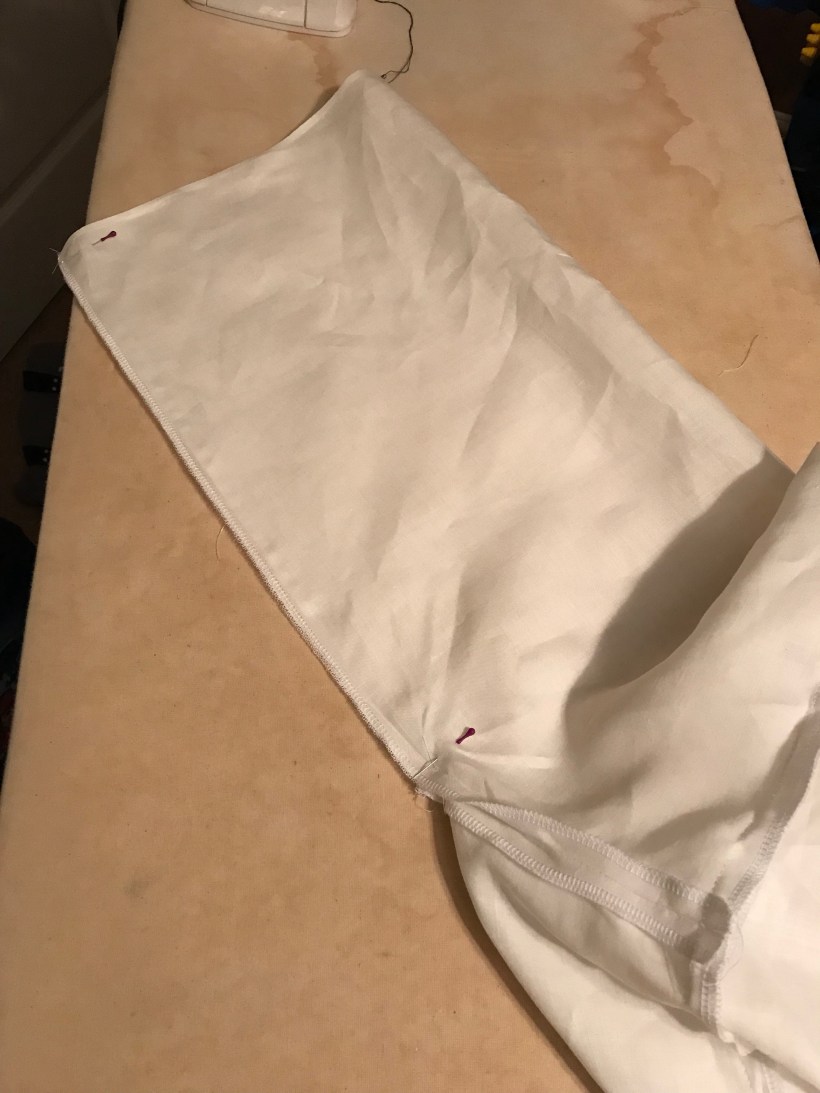
20. Stitch the sides of the body together
Cuff Construction
21. Hand baste 1/4″ in from end of sleeve and gather the sleeves to fit the cuff size
22. Attach the cuff to one side of the gathered sleeve opening, pin and stitch
23. Fold in seam allowance on cuff, press and tuck in raw edges, pin and stitch

24. Do this for both sleeves
25. Try on shirt, measure desired length and hem the bottom of the shirt

26. Add buttons and buttonholes to the cuffs and the collar as desired
I’ll post an update once I place the buttons
And there it is – 1 18th Century Man’s Shirt. This shirt is roomy and according to Reconstructing HIstory, shirts of this age were often cut larger than a true fit to the wearer. Indeed, this pattern allows a fit that is very voluminous. It is comfortable to wear.
Look out for additional posts for the neckcloth and detachable cuffs!
