I really wanted to post the second part of the breeches, but I’m waiting on more buttons. I miscounted the buttons and didn’t have enough to finish the buttons for the try on, so I had to order more from NYC. A few more days…Not wanting to lose any momentum and already having tackled the first practice pocket panniers, I decided to make the final garment. I had a chance to think on the type of boning to be used for the undergarments. The plastic boning can be good for some garments, but I wasn’t sure if the panniers are the right place to try it out, especially in a foreign country and at the Fetes! Plastic deforms and also can hold a shape that might be unwanted. I had already settled on steel boning for the stays. So after some more research, I decided to try 1/2″ reed boning.
I’m pretty sure I’ve mentioned in other posts, but wants to make a point in each post that I’m not going for historically accurate sewing techniques. I want the garments to look period, but that is where it ends. I will use my serger and Husky as much as possible. Also, I’m using patterns purchased from Reconstructing History. The patterns were traced off from the original and 1/4″ seam allowances were added
I found this great linen on eBay for $9/yd. I picked up 2 yds for the pocket panniers and stays. Cut out pieces.

1. At the bottom of the sides, pin one strip of the narrowware (this will make the casings for the boning), right sides together, and sew.
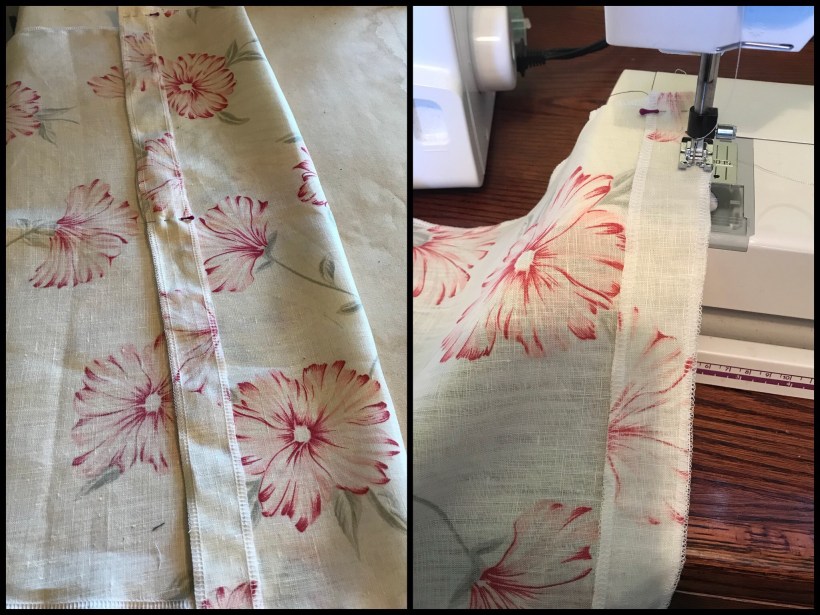
2. Press open the seam, fold over finished edge and stitch the other side of the narrowware to the side of the pocket pannier.

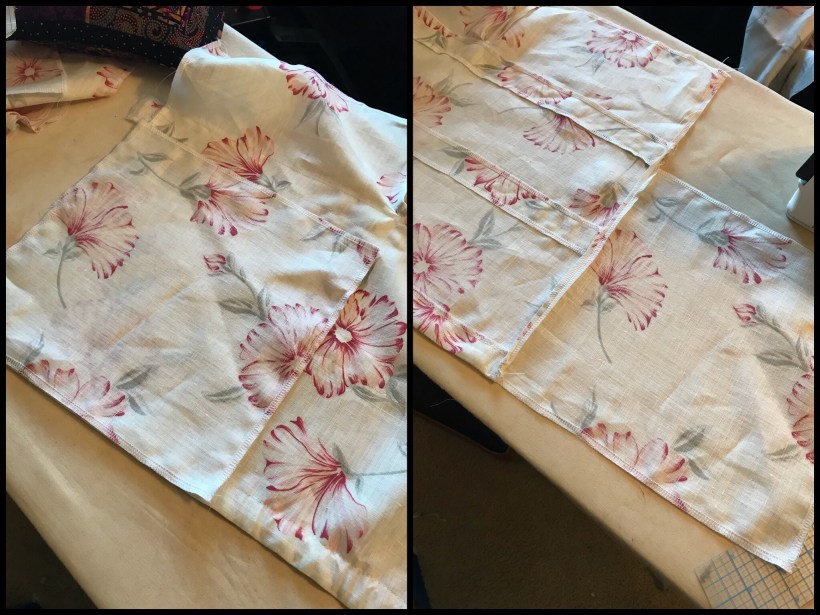
3. From the top of the bottom most narrowware measure 5″and center the next piece of narrowware.
4. Pin and sew, wrong sides together
5. Once again, measure 5″ and center the final piece of narrowware.
6. Pin and sew, wrong sides together.

7. Measure halfway across the top of the pocket pannier and slash an opening almost to top narrowware piece. This will be the opening for the pocket access.
8. Cut a 1″ wide piece of fabric about 12-15″ long. This will be used to finish the slash for the pocket. This technique is essentially the same as a shirt sleeve placket, which you can search the web or YouTube to learn more about.
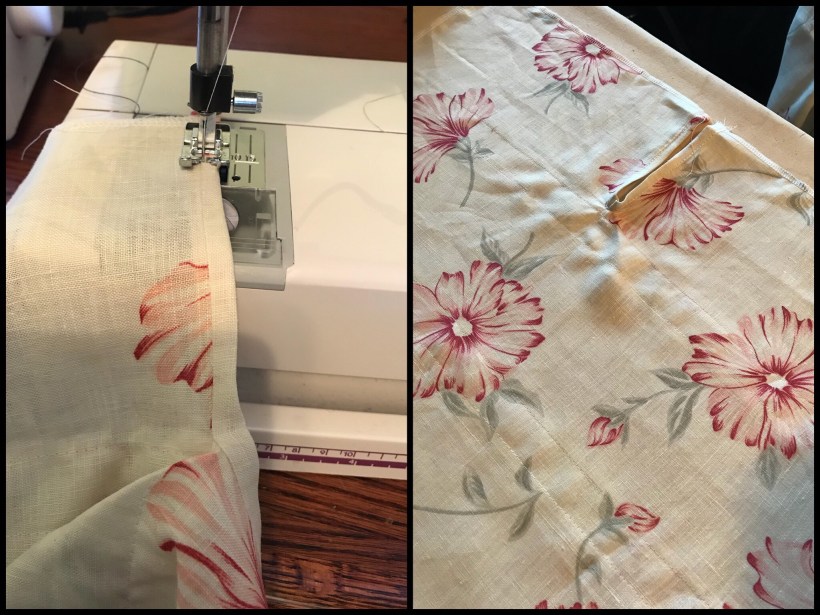
9. Pin and sew the 1″ piece of fabric to the slash with a 1/4″ seam allowance. With the garment in the sewing machine as you stitch towards the point of the slash, slow down and stop with the needle at the tip of the slash. Lift the presser foot, rotate the fabric so as to stitch down the other side of the placket.

10. Fold over placket, press seam allowance down and stitch
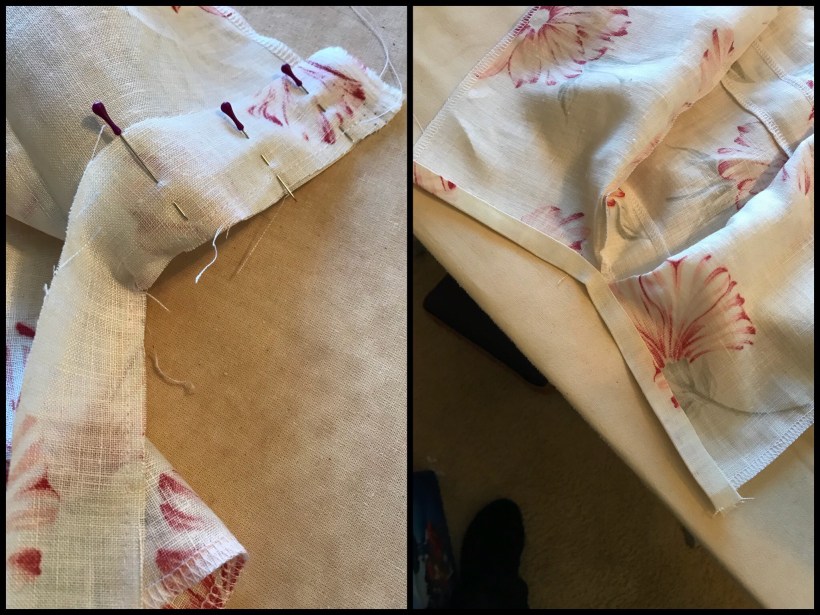
11. Take one side of the pocket hoop and align to one edge of the pocket pannier. It is the small square piece of fabric. Pin and stitch. It is OK to stitch over the two bottom narrowware openings. Press seam open
12. Center the bottom semicircular piece onto the pannier and pin along the bottom
13. Stitch closed

14. Fold over side of pannier and pin into place, making sure to pin at each narrowware opening. Do not stitch them closed. Pass over the openings
15. Pin the bottom of the side to the bottom of the pannier
16. Stitch closed

17. Insert boning material and cut to size
18. Stitch the openings closed after the boning is in the narrowware
NOTE: The reed boning is curved on one side. I inserted the boning so that the curved is facing outward.

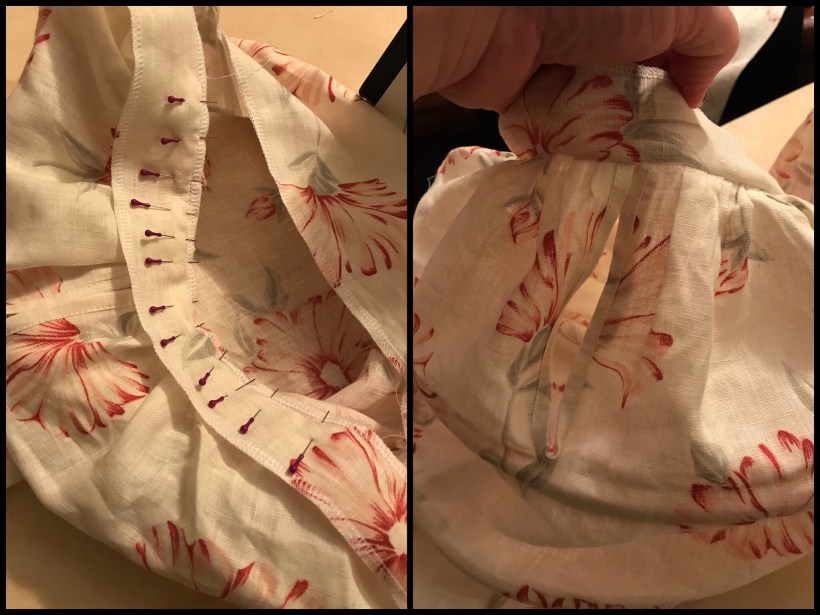
19. Hand baste around the tops of the panniers and gather to 4″ for each side
20. Press gathering into place

21. Cut a 1.5″ by length long enough to tie around your waist for the waistband
22. Mark the left and right sides on the waist band. Using the model form or the intended wearer of the garment is best
23. Pin the pocket panniers center on the side marks (right sides together) and stitch
24. Fold waistband seam allowances in and folder over using 1/4″ allowances

Here is what the final finished panniers look like. Not the functional pocket opening, perfect for money, passport or whatever you might want to stash. The gown will have slit openings on the side to allow for access into the pocket panniers.

One thought on “Constructing the Foundational Undergarments Part 2: Pocket Panniers (cont’d)”